Quick Facts
- Frequency: Regular 3d printer maintenance involves lubricating moving parts at least once a month for active users to prevent mechanical friction.
- Warning Signs: Common indicators of a thirsty machine include grinding noises, layer shifts, or visible dry dust on metal components.
- Prohibited Substances: Never use WD-40 or similar degreasers as a primary lubricant; they strip existing grease and cause premature wear.
- Tool Essentials: A 3d printer maintenance kit should include PTFE-based lubricant for rails and white lithium grease for lead screws.
- Service Life: Consistent maintenance can extend hardware lifespan by years and significantly improve layer accuracy and surface finish.
- Ancillary Care: To avoid metal-on-metal grinding and potential door sagging, door hinges and locks should be lubricated annually to protect components that may undergo thousands of opening and closing cycles per year.
Regular 3d printer maintenance involves lubricating moving parts approximately once a month for frequent users. Key signs that your machine needs oiling include grinding noises, layer shifts, or visible dryness on the linear rails and lead screws. Maintaining a consistent lubrication schedule prevents mechanical friction and ensures smoother hardware operation.
Beyond the Printer: 3 Tech Items That Need Oiling Right Now
As someone who spends most of my day buried in PC cases and testing the latest FDM hardware, I have noticed a recurring theme: we focus a lot on software updates but neglect the mechanical reality of our gear. Your desktop environment is full of moving parts that rely on fluid dynamics to stay silent and functional. Before we dive deep into the specific 3d printer preventive maintenance tips that keep your hobby alive, let's look at three common tech items on your desk that are likely crying out for help.
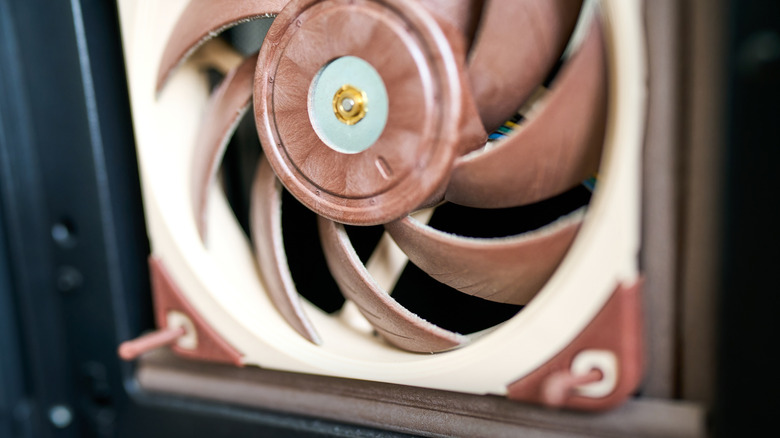
First, consider your PC case fans. Many high-end fans use fluid dynamic bearings, but cheaper sleeve bearing models often have a hidden oil well. If you peel back the sticker on the hub of a noisy fan, you will often find a rubber cap. Putting a single drop of sewing machine oil here can revive a rattling fan and save you a trip to the store. Second, mechanical keyboards can benefit immensely from switch lubrication. If your keys feel scratchy or have a metallic ping, applying a specialized lubricant to the switch stems provides immediate friction reduction and a more premium typing feel.
Finally, we arrive at the heavy lifter: the 3D printer. This machine performs thousands of precise movements every single hour. Unlike a PC fan that spins at a constant rate, printer components are constantly accelerating and decelerating, which puts immense stress on the linear motion systems. If you have been ignoring the mechanical health of your machine, you are essentially running an engine without oil.
Symptom Diagnosis: How to Tell Your 3D Printer is Thirsty
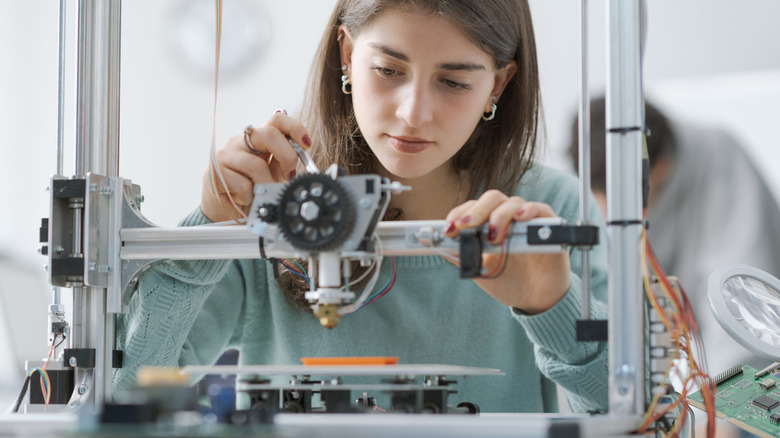
Detecting a maintenance issue before it leads to a catastrophic failed print is a hallmark of an expert maker. You do not need expensive sensors to tell if your machine is struggling; you just need to use your senses. The most common auditory cue is a high-pitched squeak or a low-pitched grinding sound during fast travel moves. This usually indicates that the bearings in your X or Y carriage are bone dry, increasing the load on your stepper motors.
Visual cues are just as important. Take a close look at your Z-axis lead screws. If you see a buildup of gray or black "gunk," that is a mixture of old grease and metal shavings. This is a sign of wear that leads to Z-banding or artifacts on the surface of your prints. Furthermore, if you notice unexplained layer shifts or if the motors are running hotter than usual, mechanical resistance is the likely culprit. For beginners, 3d printer maintenance for beginners often starts with checking for these tactile and auditory warnings before troubleshooting hardware settings or slicer profiles.
Another expert tip involves checking for "ringing" or ghosting on your printed parts. While this can be a belt tension issue, it is often caused by jerky movements resulting from sticky rails. If the carriage does not glide smoothly, the motor has to "snap" the rail into motion, creating vibrations that translate directly onto your plastic part. Keeping an eye on these symptoms is the core of any effective 3d printer maintenance checklist.
The Professional 3D Printer Maintenance Kit: Lubricant Selection
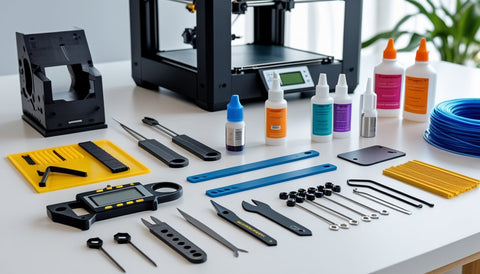
Hardware longevity is directly tied to using the right chemistry for the right job. One of the biggest mistakes I see in the community is the use of "all-purpose" sprays. WD-40 is a fantastic solvent and water displacer, but it is not a lubricant for precision machinery. In fact, it can dissolve the existing grease inside your bearings, leading to rapid failure. To build a proper 3d printer maintenance kit, you need to understand the difference between oils and greases.
For linear motion systems, such as X and Y-axis rods or rails, a thin PTFE-based lubricant is the gold standard. These oils penetrate the bearing housings and leave a dry film that does not attract as much dust as heavy grease. For the Z-axis lead screws, which move slower but handle more weight, you should use a thicker white lithium-based grease. This stays on the threads and provides a durable cushion between the nut and the screw.
| Component | Correct Lubricant | Purpose | Avoid |
|---|---|---|---|
| Linear Rails/Rods | PTFE-based oil | Friction reduction on high-speed axes | Thick grease, WD-40 |
| Lead Screws | White Lithium Grease | Vertical load bearing and wear prevention | Thin oils that can drip |
| V-Slot Wheels | Dry microfiber cloth | Cleaning only; avoid lubrication | Any oils (causes slipping) |
| Extruder Gears | Dry PTFE (optional) | Smooth filament feeding | Wet lubricants near the filament |
Choosing the best lubricant for 3d printer rails is about finding that balance between staying in place and not attracting debris. If you work in a dusty environment, you might need to clean and re-apply these fluids more frequently to maintain mechanical longevity and noise reduction.
Step-by-Step: Oiling Your X, Y, and Z Axes
Once you have your 3d printer maintenance tools ready, the process of lubrication is straightforward but requires a delicate touch. Start by powering down the machine. You never want to move axes manually while the stepper motors are engaged, as this can generate back-electromotive force (EMF) and damage your mainboard.
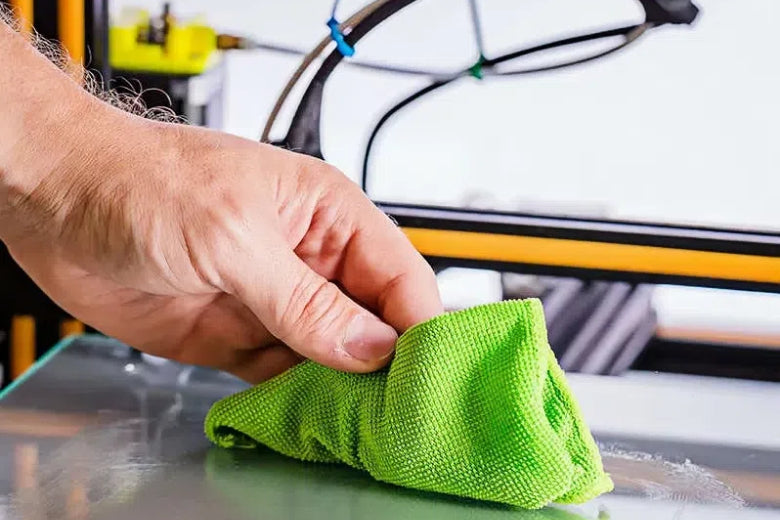
First, clean the surfaces. Use a lint-free microfiber cloth to wipe down the X and Y rails to remove any old oil and dust. For the Z-axis lead screw, you may need a small brush to get the old grease out of the threads. Once the metal is clean, apply a small amount of PTFE-based lubricant to a clean cloth and wipe it onto the rails. You do not need much; a thin, almost invisible film is sufficient. For the lead screw, apply a few dabs of lithium grease along the length of the screw.
The next step is to cycle the axes. Manually (and slowly) move the print head and bed through their full range of motion several times. This distributes the lubricant evenly across the bearings and into the lead screw nut. This is also a great time to check for any snags or "flat spots" in your V-slot wheels. While checking these components, also keep an eye on 3d printer nozzle maintenance by ensuring there is no carbonized filament buildup on the exterior, as clean hardware overall contributes to better thermal performance and layer accuracy.

The Ultimate 3D Printer Maintenance Schedule
Consistency is what separates a reliable machine from a frustrating project. I recommend setting a 3d printer maintenance schedule that aligns with your printing volume. If you are a daily user, a monthly deep clean is essential. If you only print once a week, you can stretch this to every three months.
- Daily: Clean the print bed with IPA and check for nozzle clogs.
- Weekly: Inspect belt tension and brush away any stray plastic debris from the moving paths.
- Monthly: Perform a full lubrication of the X, Y, and Z axes. Check the extruder gears for "filament dust" and clean them with a stiff brush.
- Quarterly: Tighten all frame bolts and check the V-slot wheels for wear. Recalibrate your E-steps to ensure extrusion remains accurate.
Using a 3d printer maintenance checklist will ensure you do not skip the small things, like checking the fans for hair or dust buildup. Remember that ambient conditions matter too; if your printer is in a garage with high humidity, your rails are at a higher risk of oxidation. Keeping humidity below 50% and maintaining a fresh coat of lubricant is the best defense against gear degradation.

FAQ
How often do you need to lubricate your 3D printer?
For the average user printing several times a week, a full lubrication of the linear rails and lead screws should be performed once a month. If the printer is used in a dusty or professional environment with 24/7 uptime, bi-weekly inspections are recommended to ensure the lubricant has not dried out or become contaminated.
What happens if you don't lubricate your 3D printer?
Failure to lubricate leads to increased friction, which manifests as grinding noises and excessive heat in the stepper motors. Over time, this causes physical wear on the metal rods and lead screws, leading to permanent layer shifts, poor surface finish, and eventually, a total mechanical seizure of the motion system.
What is the lifespan of a 3D printer?
The lifespan of a 3D printer depends heavily on maintenance. A well-maintained hobbyist machine can easily last 5 to 10 years, though electronic components like fans and heaters may need replacement sooner. Without proper care, mechanical components can wear out in as little as 12 to 18 months of heavy use.
How much does it cost to run a 3D printer for 24 hours?
Running a standard FDM 3D printer for 24 hours typically costs between $0.20 and $0.50 in electricity, depending on local utility rates and the temperature of the heated bed. The cost of maintenance, including lubricants and replacement nozzles, adds only a few cents to the daily operating cost but prevents expensive motor or board failures.
In the world of computing hardware, we often focus on the silicon, but in 3D printing, the mechanical interface is just as critical. By following these 3d printer preventive maintenance tips and investing in a quality 3d printer maintenance kit, you ensure that your machine remains a tool of creation rather than a source of frustration. Take ten minutes today to check those rails—your future prints will thank you.