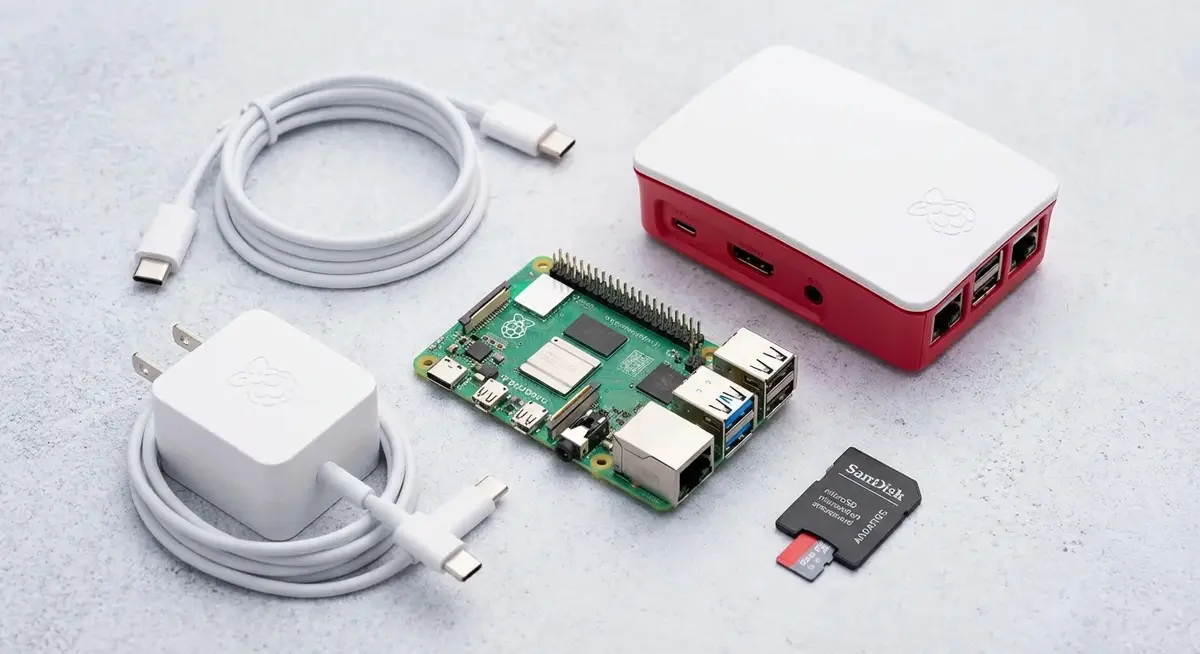
Quick Facts
- Board Generation: Raspberry Pi 5 (2.4 GHz Quad-core)
- Critical Power: 27W USB-C PD required
- Thermal Limit: Throttling begins at 80°C
- Storage Pro-Tip: NVMe SSDs are 5x faster than microSD
- Essential Tool: Pi-Apps for GUI-based installs
- First Project: Pi-hole (30 min setup time)
Unboxing a new board is always exciting, but the transition from a bare PCB to a functional computer can feel a bit like learning a new language. Whether you are building a media server or a smart home hub, following the right Raspberry Pi tips ensures you don't hit common roadblocks. This Raspberry Pi setup guide will show you how to pre-configure Raspberry Pi OS before installation to save hours of troubleshooting later. With the newest hardware, like the Raspberry Pi 5, the stakes for power and cooling are higher than ever.
To set up a Raspberry Pi efficiently, use the Raspberry Pi Imager to flash the OS and pre-configure settings like Wi-Fi and SSH before the first boot. For peak performance, ensure you use a 27W USB-C Power Delivery supply and active cooling to prevent thermal throttling at 80°C.
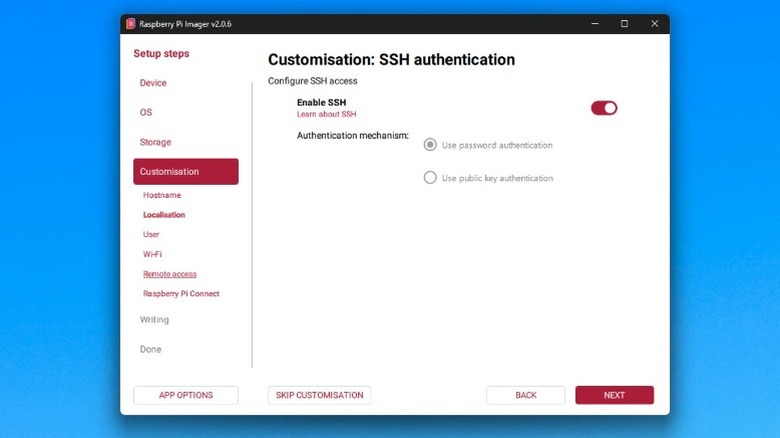
1. Zero-Touch Setup: Pre-Configure Your OS
The most common frustration for beginners is the first boot. Historically, you had to plug in a monitor and keyboard just to set up Wi-Fi. Those days are over. When you use the official Raspberry Pi Imager, you have access to a hidden customization menu (accessible via the gear icon or Ctrl+Shift+X). Using this tool to pre-configure Raspberry Pi OS before installation allows you to set your hostname, define your Wi-Fi credentials, and choose your time zone before the card even touches your Pi.
Crucially, you should enable SSH (Secure Shell) in these settings. This allows for headless operation, meaning you can manage your device remotely from your main laptop or desktop from the very first power-on. It turns a Linux distribution installation from a chore into a seamless background task.
2. Powering Up: The 27W USB-C PD Standard
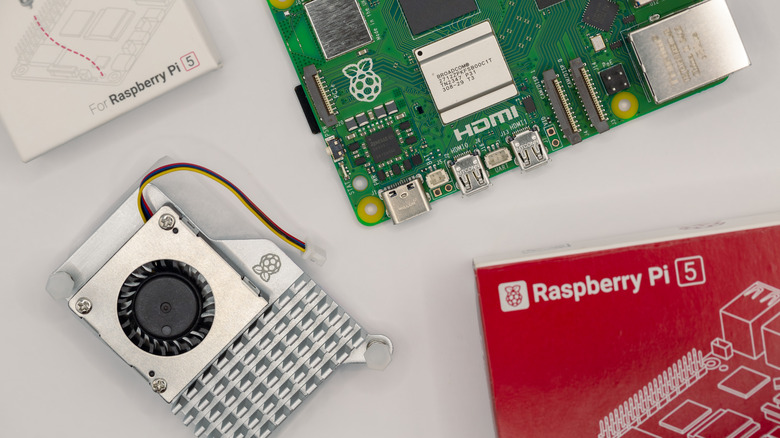
Power delivery is where many builders cut corners, but the Raspberry Pi 5 is demanding. It features a Broadcom SoC and ARM architecture that offers a two-to-threefold increase in performance compared to its predecessor. To support this, you really need a high-quality 27W USB-C Power Delivery (PD) power supply.
Standard 15W phone chargers often trigger low-voltage warnings. While the Pi might still boot, it will limit the current available to your USB peripherals. If you plan on connecting external hard drives or high-speed SSDs, finding the best power supply for Raspberry Pi 5 performance is one of the most vital Raspberry Pi hardware essentials you can buy.
Pro-Tip: If you see a lightning bolt icon in the top right of your screen or a "Low Voltage" warning in your logs, your power supply is likely failing to meet the required 5V/5A specification.
3. Beat the Heat: Mastering Thermal Management
Because the Raspberry Pi 5 is so powerful, it generates significant heat. The CPU is designed to start thermal throttling when it hits exactly 80°C. Once you cross this limit, the system automatically slows down the clock speed to protect the hardware, which can ruin the experience of 4K video streaming or intensive AI projects.
For basic desktop use, a passive heatsink might work, but when to use active cooling on Raspberry Pi becomes clear the moment you push the CPU. An active cooler with a variable-speed fan ensures your system remains stable during heavy workloads. This thermal management is a big reason why the industrial market for these boards is expected to reach 1.2 billion U.S. dollars in 2024, as reliable cooling allows them to run 24/7 in automation environments.
| Feature | Passive Cooling (Heatsink) | Active Cooling (Fan + Heatsink) |
|---|---|---|
| Best For | Light office work, simple scripts | Gaming, 4K video, AI, Server use |
| Noise Level | Silent | Low (Variable fan speed) |
| Performance | Potential throttling at 80°C | Maintains peak 2.4 GHz clock |
| Complexity | Simple stick-on | Plug into dedicated fan header |
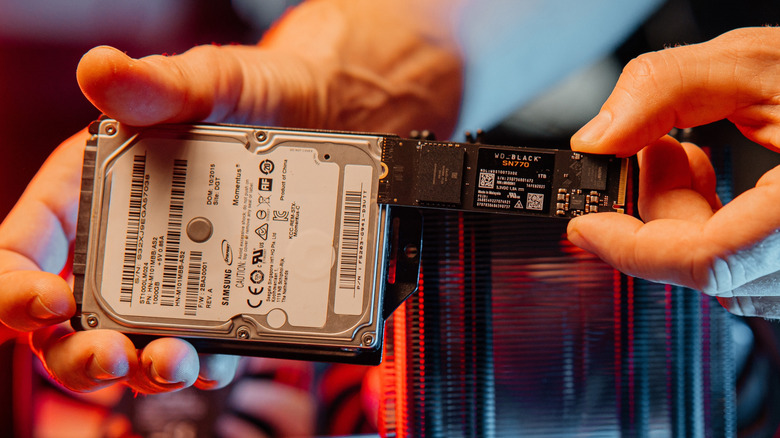
4. The Speed Upgrade: Switching to NVMe SSD
If you want your Pi to feel like a "real" PC, stop relying solely on a microSD card. Even the fastest A2-rated cards are limited by the SD interface. Upgrading Raspberry Pi storage to NVMe SSD via the dedicated PCIe lane on the Raspberry Pi 5 changes everything.
Switching to an SSD provides up to 500MB/s speeds, making the desktop environment feel snappy and drastically reducing boot times. It also solves the primary cause of system failure: SD card corruption from frequent write cycles. If you are running write-intensive apps like a Home Assistant hub or a Plex server, this storage upgrade is non-negotiable for long-term reliability.
| Storage Type | Typical Read/Write Speed | Reliability |
|---|---|---|
| Standard MicroSD | 20-40 MB/s | Moderate (Prone to corruption) |
| A2-Rated MicroSD | 70-90 MB/s | Good (Better random R/W) |
| NVMe SSD (PCIe) | 400-500 MB/s | Excellent (Industrial Grade) |
5. Simplify Software with Pi-Apps
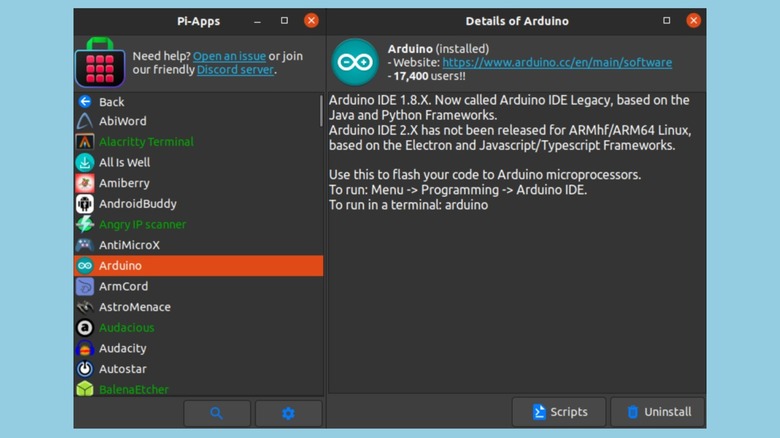
Many newcomers find the Linux terminal intimidating. While learning command-line basics is part of the fun, sometimes you just want to install an app and get to work. This is where using Pi-Apps to install Linux software on Raspberry Pi becomes a game-changer.
Pi-Apps is a community-maintained "app store" for Raspberry Pi OS. It features a graphical interface that lets you install hundreds of applications—from VS Code and Discord to Minecraft and various emulators—with a single click. It handles all the complex repository management and dependency checks in the background, making it one of the most practical Raspberry Pi tips for those coming from Windows or macOS.
6. Remote Access: Headless Management
You don't always need a dedicated monitor for your Pi. In fact, many of the best DIY projects are designed to sit in a closet or under a desk. You can manage your device remotely using a VNC viewer for a full desktop experience or SSH for command-line control.
To keep your connection stable, I recommend setting a Static IP address for your Pi within your router settings. This ensures that every time you try to connect from your laptop, the Pi is exactly where you expect it to be. If you enabled SSH during the initial Raspberry Pi setup guide phase, you can simply open a terminal on your main computer and type ssh pi@raspberrypi.local to take control.
7. First Wins: High-Reward DIY Projects
Once your hardware is optimized, it is time to build something. The best Raspberry Pi beginner projects are those that provide immediate utility.
- Pi-hole: A network-wide ad blocker that stops ads before they even reach your devices. It takes about 30 minutes to set up.
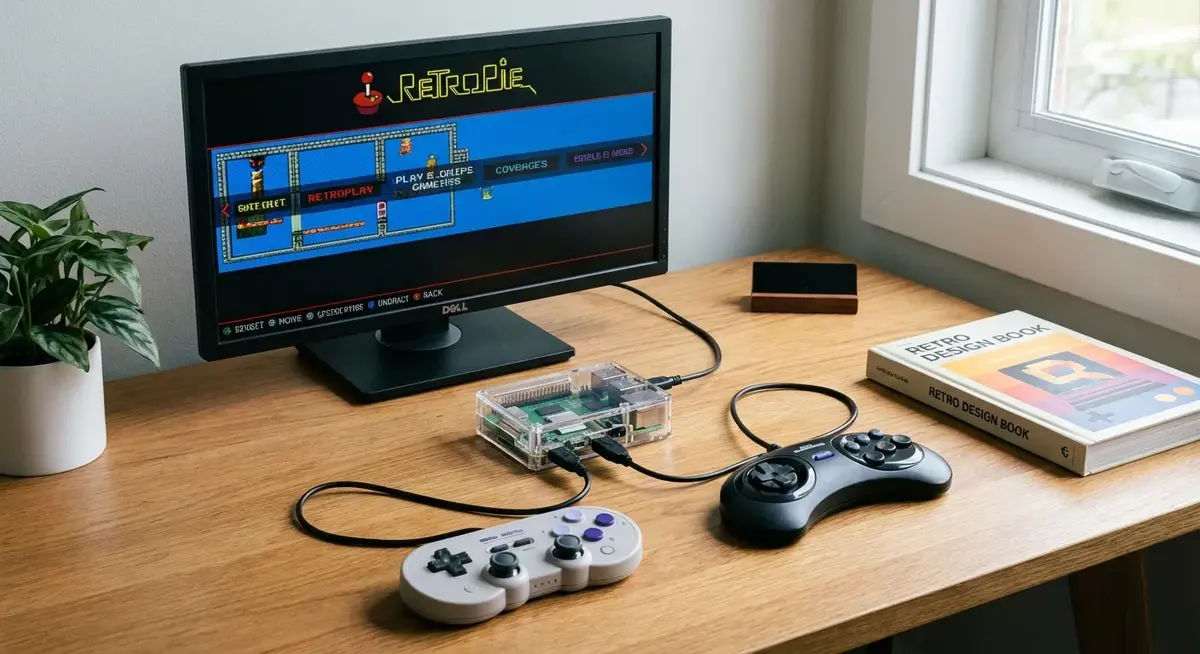
- RetroPie: Turn your Pi into a classic gaming console. With the performance of the Pi 5, you can even explore a beginner guide to overclocking Raspberry Pi 5 to squeeze out better frame rates in N64 or Dreamcast games.
- Home Assistant: Use the GPIO pins to connect sensors and turn your board into the ultimate private smart home controller.
Starting with these "quick win" projects helps you understand the hardware-software synergy that makes the Pi ecosystem so unique.
FAQ
How can I make my Raspberry Pi run faster?
To increase performance, upgrade your storage from a microSD card to an NVMe SSD using the PCIe lane, which provides a massive boost in system responsiveness. You can also ensure you are using a 27W power supply and active cooling, which allows the CPU to maintain its maximum clock speed without throttling.
How do I prevent my Raspberry Pi from overheating?
Install an active cooling solution, such as the official Raspberry Pi Active Cooler or a case with an integrated fan. The CPU begins to throttle its performance at 80°C, so keeping the temperature below this threshold is essential for maintaining high-speed operation during intensive tasks.
What are the essential accessories for a new Raspberry Pi setup?
Aside from the board itself, the most important Raspberry Pi hardware essentials include a high-speed A2-rated microSD card (or NVMe SSD), a 27W USB-C PD power supply, and a cooling solution. If you aren't running it remotely, you will also need a micro-HDMI to HDMI cable.
How do I access a Raspberry Pi remotely without a monitor?
You must enable SSH or VNC in the Raspberry Pi Imager advanced settings before flashing your OS. Once the Pi is on your network, you can use an SSH client like PuTTY or a VNC viewer on your laptop to log in using the device's IP address or hostname.
How do I stop my SD card from getting corrupted?
The best way to prevent corruption is to use a high-quality A2-rated card and always shut down the OS properly via the menu or command line before pulling the power. For a permanent solution, boot from an SSD instead of an SD card, as SSDs handle frequent data writes much more reliably.