Quick Facts
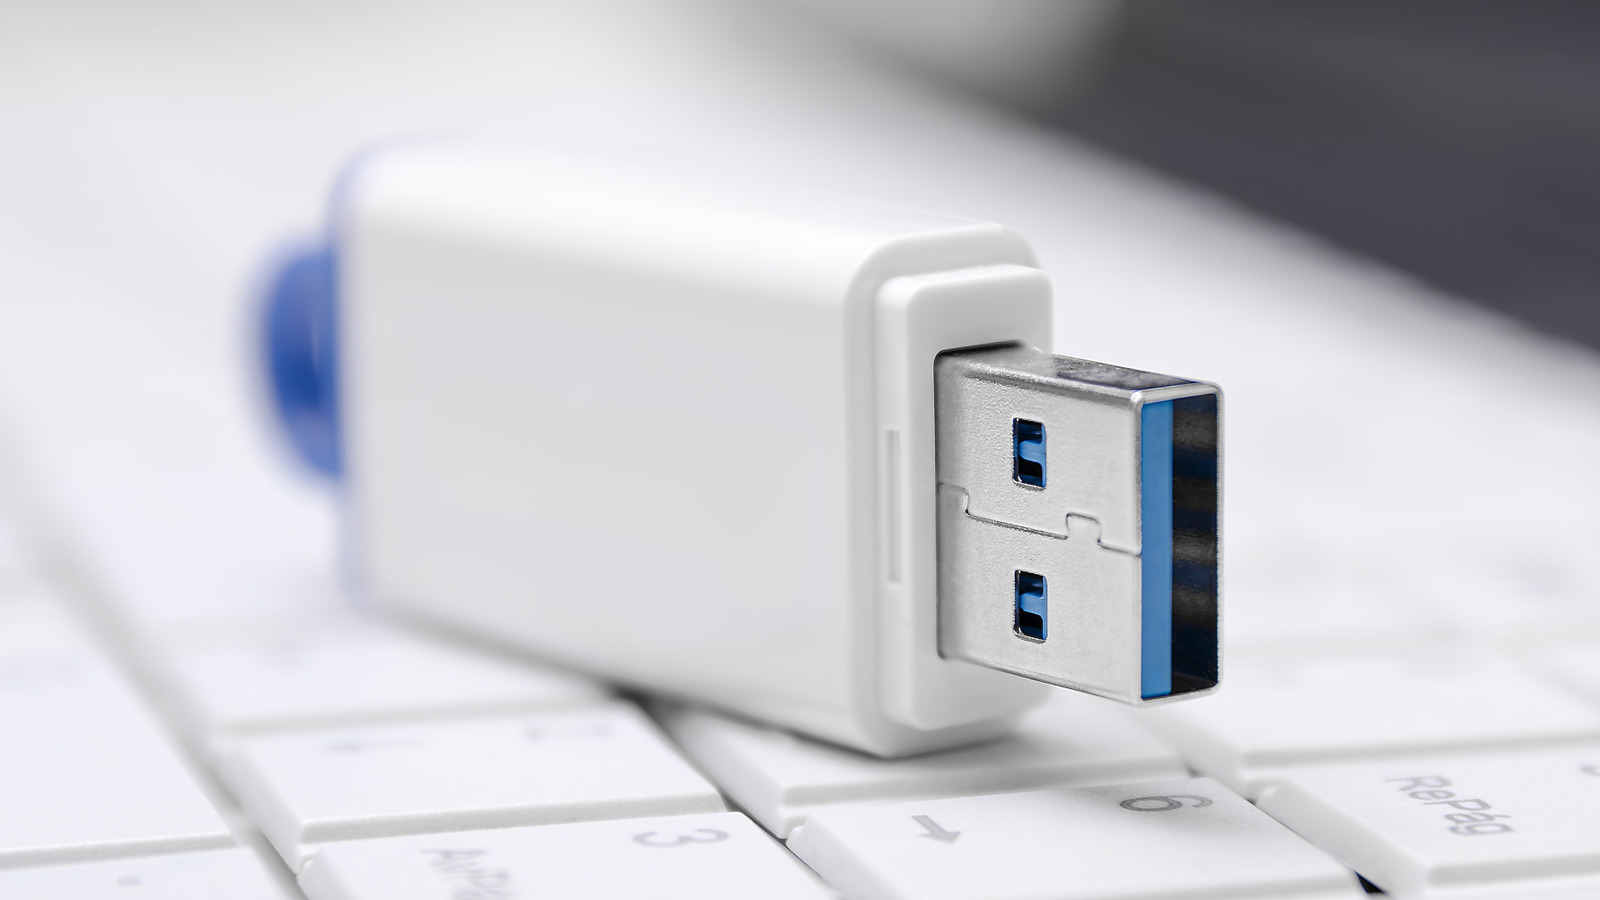
- Required Tool: A USB 3.0 or 3.1 flash drive with at least 16GB of storage (32GB is recommended for future-proofing).
- Format: The drive will be formatted to FAT32; all existing data on the USB stick will be permanently erased.
- Creation Time: Expect the process to take between 30 and 60 minutes depending on your system and USB speed.
- Update Frequency: It is a best practice to recreate your recovery media annually to ensure it includes the latest Windows updates and drivers.
- Risk Factor: This tool focuses on system repair and does not backup personal files, photos, or third-party applications.
- Success Rate: Statistics show that approximately 40% of computer data loss and system failure scenarios are attributed to logical errors, which are the primary issues this tool is designed to resolve.
A USB recovery drive is a bootable tool containing the Windows Recovery Environment and system files used to repair a PC that won't start. To use it, you must insert the drive into the crashing PC, access the BIOS UEFI settings to adjust the boot priority order, and select Troubleshoot to access various repair utilities like Startup Repair or System Restore.
There is nothing quite as gut-wrenching as pressing the power button on your primary workstation only to be greeted by a flickering cursor or the dreaded Blue Screen of Death. In the world of PC building and maintenance, we often obsess over benchmarks and thermal paste application, but we frequently neglect the most important $15 insurance policy any user can own: a dedicated USB recovery drive. Think of this drive not just as a piece of plastic, but as a specialized toolkit that allows you to bypass a corrupted operating system and access the internal gears of your machine.
When Windows fails to load, it is usually because of a "logical error"—a software-side breakdown where the hardware is fine, but the instructions to boot have become a tangled mess. By having a prepared USB recovery drive on hand, you can boot into a stable WinPE environment, which is a lightweight version of Windows designed specifically for deployment and repair. This guide will walk you through the preparation, creation, and execution of a recovery plan that can save you from a costly trip to a repair shop or a total loss of your digital environment.
Prerequisites and Preparation
Before we dive into the software side, we need to address the hardware. You cannot simply use any old thumb drive you found in a desk drawer. For a modern Windows 10 or 11 system, the minimum usb size for windows recovery drive is 16GB, though I personally recommend using a 32GB USB 3.0 drive. The extra overhead ensures that if Windows updates grow the size of the recovery image, you won't be left with an undersized drive halfway through the process.
It is also vital to distinguish between a recovery drive and a system image. A system image is a "snapshot" of your entire PC, including your cat photos and installed games. A recovery drive, however, contains the Windows Recovery Environment and the basic system files needed to reinstall Windows from scratch if the local recovery partition is damaged.
Ryan’s Tip: If you are performing this on a laptop, ensure it is connected to AC power. If the battery dies during the creation of the recovery media, you risk corrupting the system files on your primary drive, which turns a preventative measure into a self-inflicted disaster.
You must also understand the implications for your external storage media. The creation process involves a full FAT32 formatting. This means that does a windows recovery drive delete personal files on the USB stick? Yes, absolutely. Every bit of data on that flash drive will be wiped. Before you click "Next," double-check that you haven't left any important documents on that drive.
Finally, if your PC is currently crashing, take a moment to run basic hardware diagnostic tools if your manufacturer provides them (often found by tapping F12 or ESC during startup). If your NVMe SSD has physically failed, no amount of software recovery will bring it back. If the hardware checks out, proceed to the creation phase.
Creating the Recovery Media
Creating the drive is straightforward, but there is one specific technical requirement that people often miss, rendering their drive useless when they actually need it. To begin, connect your USB drive to a functional Windows PC. You can access the tool by typing "recovery drive" into the Windows search bar, or for a more direct method, press Windows + R and type recoverydrive.exe.
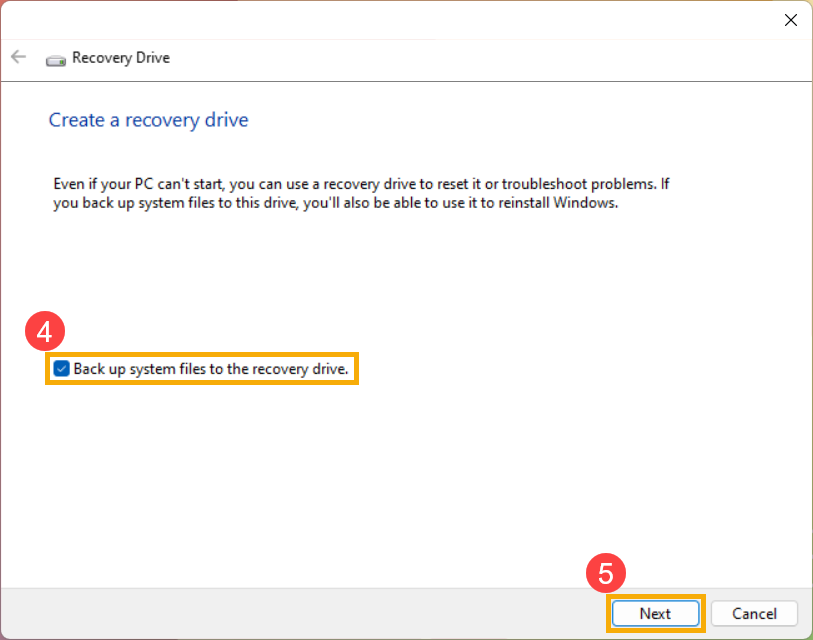
Once the tool opens, you will see a checkbox labeled "Back up system files to the recovery drive." This is the most critical step. If you leave this unchecked, your USB recovery drive will only contain basic troubleshooting tools and will not be able to perform a full operating system reinstallation. By checking this box, you are copying the actual Windows installation files to the drive, which is what requires the larger 16GB+ capacity.
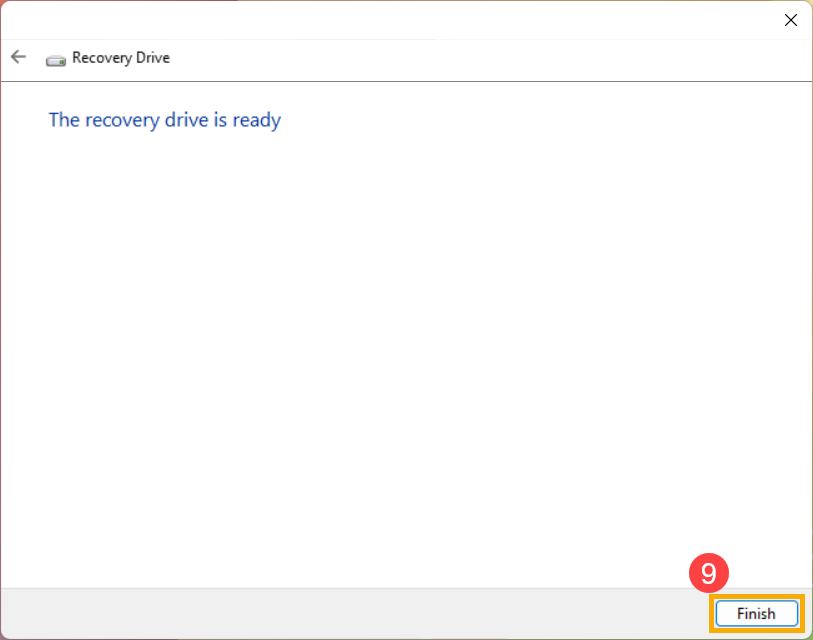
The wizard will then scan your system and identify compatible drives. Select your USB stick from the list. At this point, Windows will give you a final warning that the drive will be formatted. Once you confirm, the process begins. It can take anywhere from 20 minutes to an hour. The tool is essentially assembling a bootable version of Windows on the fly, compressing system files, and configuring the FAT32 boot sector.
If you encounter an error saying "We can't create the recovery drive," it is usually due to one of two things: a background process is using the USB drive (like an antivirus scan), or your Windows recovery partition is missing or damaged. In the latter case, you might need to use the Windows Media Creation Tool instead, which downloads fresh files from Microsoft's servers.
Booting Your Crashing PC from the USB
Now comes the part where most users get stuck: actually using usb recovery drive to fix windows boot issues. When your PC is crashing or stuck in a boot loop, it keeps trying to load the broken version of Windows on your hard drive. We need to tell the hardware to look at the USB drive first.
This requires entering your BIOS UEFI settings. Every motherboard manufacturer has a different "hotkey" to enter this menu. You need to tap this key repeatedly the moment you press the power button.
| Manufacturer | Common BIOS/Boot Menu Keys |
|---|---|
| Dell | F12 or F2 |
| HP | F10 or ESC |
| Lenovo | F12 or F1 |
| ASUS | F2 or Del |
| Acer | F2 or F12 |
| Custom Builds (MSI/Gigabyte) | Del or F11 |
Once you are inside the UEFI interface, look for a tab labeled "Boot" or "Boot Priority." Use your keyboard or mouse to move the USB device to the top of the boot priority order. Save your changes and exit. The PC will restart, and this time, it should ignore the internal drive and load the files from your USB recovery drive.
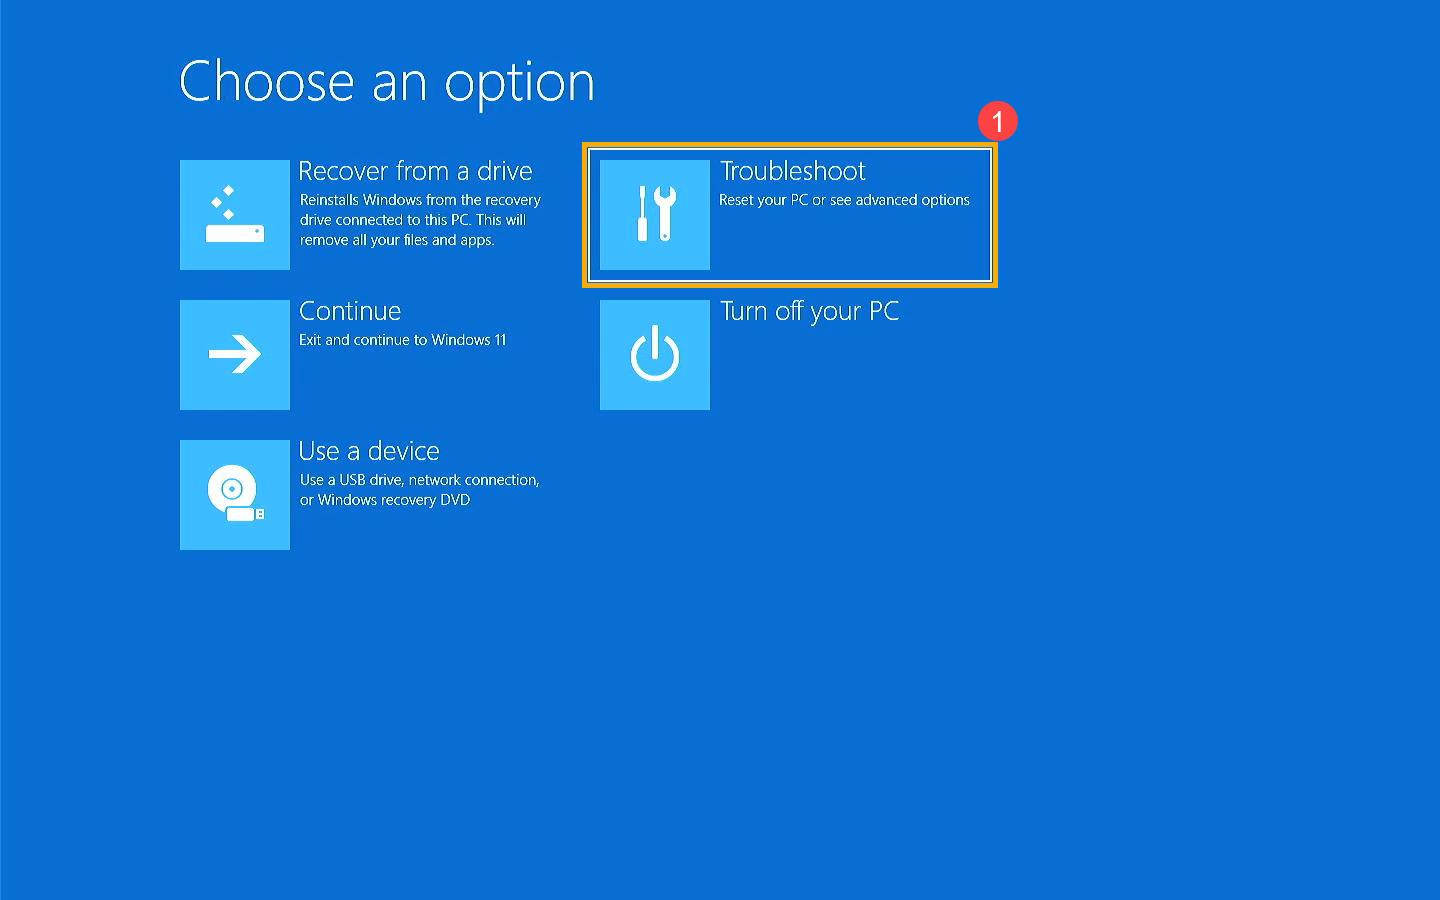
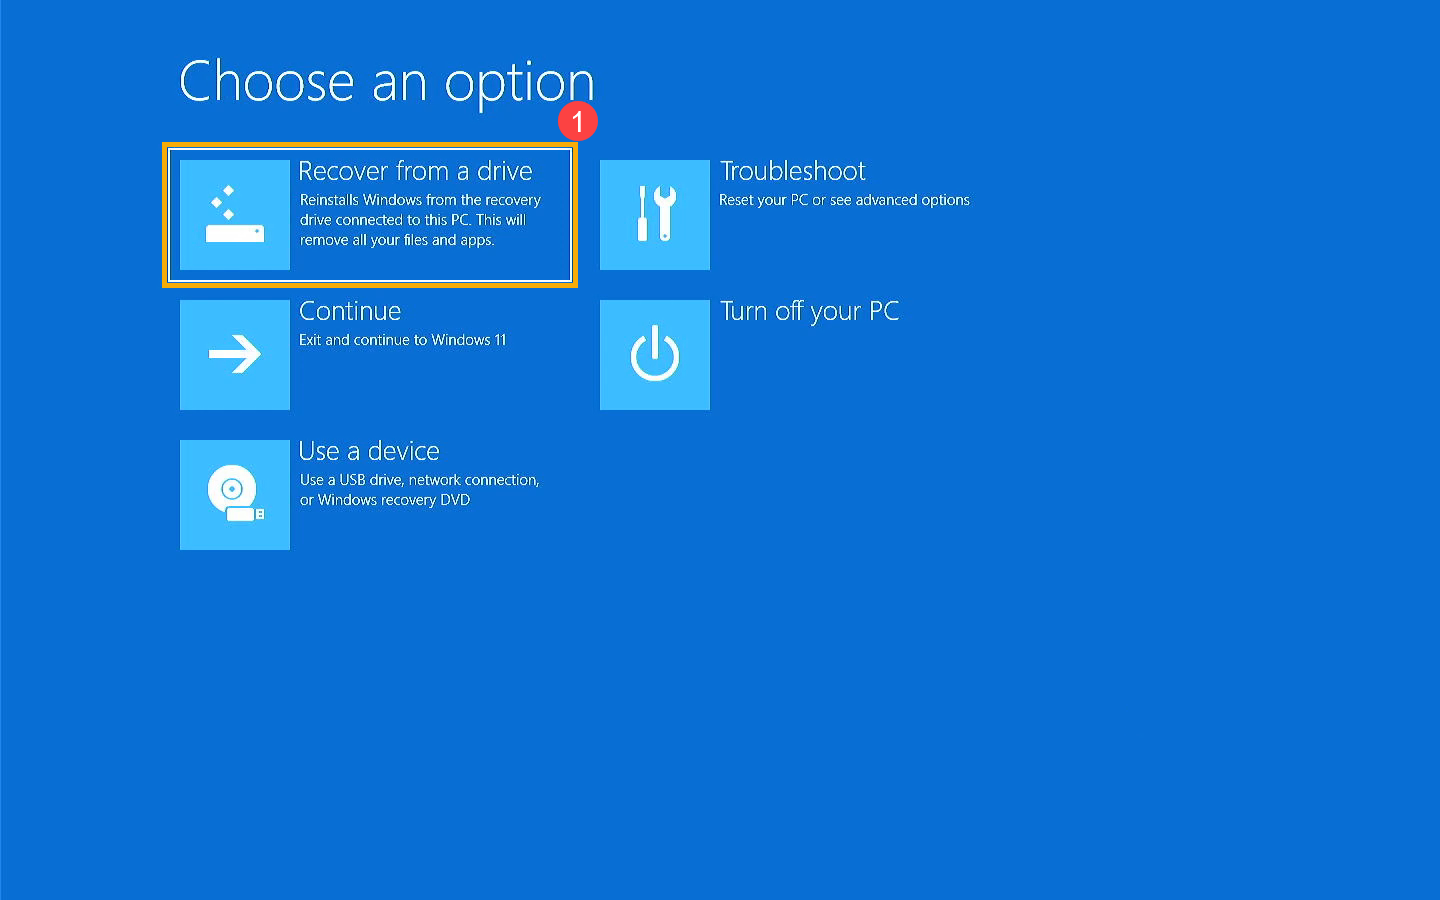
The first thing you will see is a prompt to "Choose your keyboard layout." This confirms that you have successfully entered the Windows Recovery Environment. After selecting your layout, you will be presented with a blue screen offering three main options: Continue, Use a device, or Troubleshoot.
Troubleshooting and Repairing Windows
Click on Troubleshoot to reveal the Advanced options. This is where the real work begins. I always recommend a tiered approach to repair: start with the least invasive method and work your way up to a full reinstall.
First, try the windows recovery environment startup repair guide favorite: Startup Repair. This tool automatically scans your boot records, registry, and system files for known issues. It is effective for fixing the "Bootmgr is missing" error or minor file corruption. If this fails, move to System Restore. This allows you to roll your PC back to a previous state—essentially an "undo" button for recent driver updates or software installations that may have triggered the crashes.

For those who are more comfortable with technical tools, the Command Prompt is your best friend. You can run sfc /scannow to repair corrupted system files or use bootrec commands to manually rebuild the boot configuration data. Specifically, bootrec /fixmbr and bootrec /rebuildbcd are the "heavy hitters" for fixing a PC that simply won't find the Windows partition.
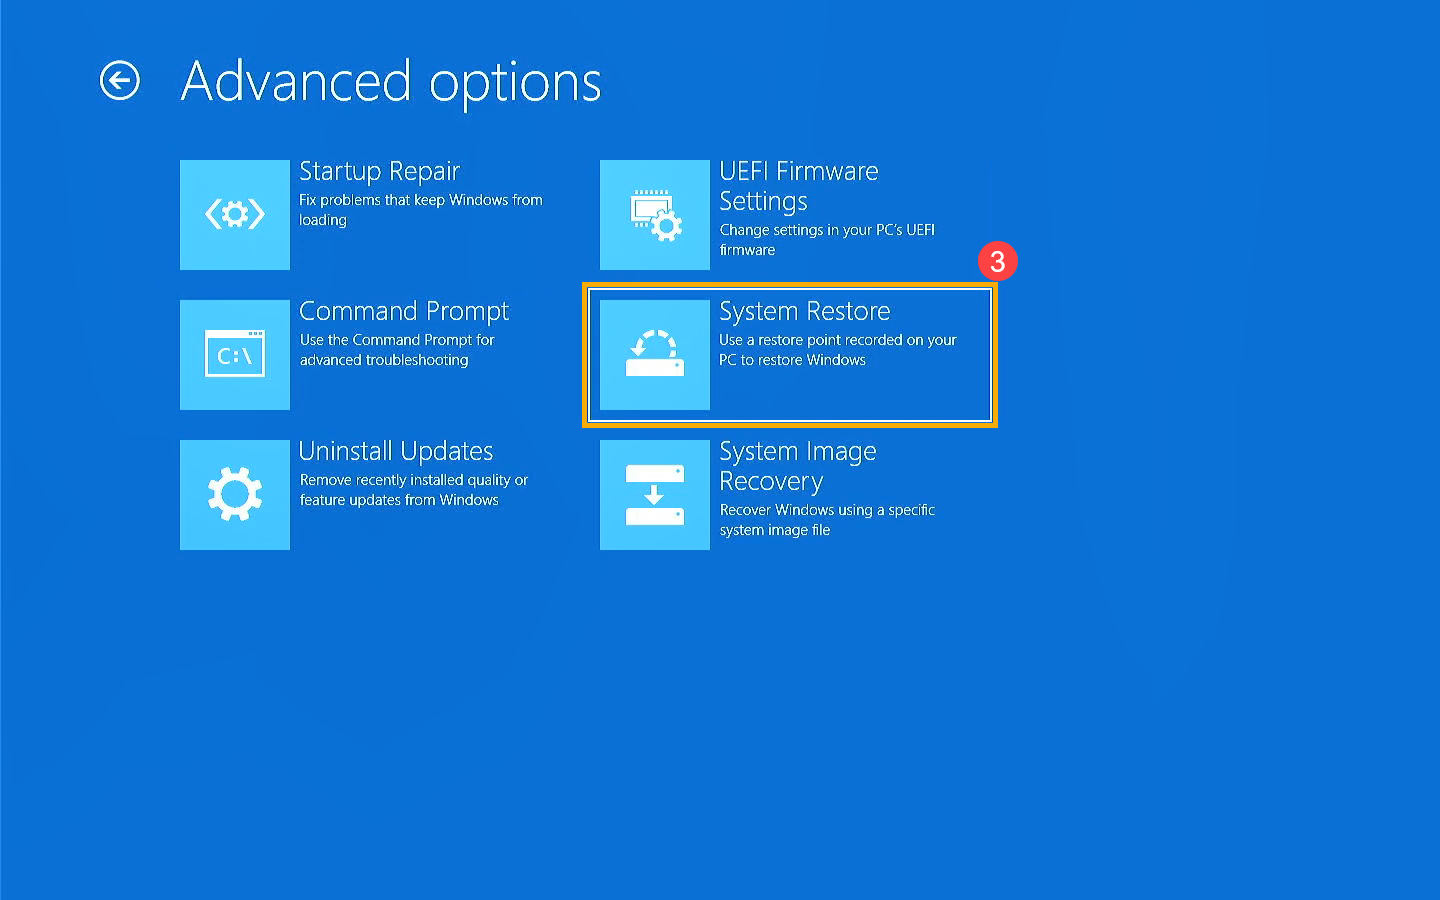
If none of these advanced options work, you are likely facing a corrupted registry or deep OS damage. This is where you use the last resort: operating system reinstallation. On the main Troubleshoot screen, you will see an option to "Recover from a drive." This will completely wipe your internal drive and install a clean version of Windows using the system files you backed up to the USB. While this means you will lose your apps, it is a guaranteed way to get the hardware running again.
FAQ
What is a USB recovery drive used for?
A recovery drive is primarily used to boot a computer that is experiencing critical system failures, such as boot loops, blue screens, or corrupted system files. It provides a suite of diagnostic and repair tools, such as Startup Repair and System Restore, and can also be used to perform a clean reinstallation of the operating system if the local recovery partition is unavailable.
How do I create a USB recovery drive?
To create the drive, connect a USB stick to a working PC and type "recovery drive" in the Windows search bar. Open the tool, ensure the option to "Back up system files to the recovery drive" is checked, and follow the on-screen instructions. The wizard will format the drive and copy the necessary bootable environment and system files to the media.
How much space is needed for a recovery drive?
While the basic tools only require about 1GB, a full recovery drive that includes Windows system files usually requires at least 16GB. Because Windows system files grow with updates, using a 32GB USB 3.0 or 3.1 drive is highly recommended to ensure compatibility and provide enough room for future updates.
Does creating a recovery drive format the USB?
Yes, the creation process will completely format the USB drive. This means all existing files, folders, and data on the stick will be permanently deleted. You should always use an empty drive or back up the contents of the USB to another location before starting the recovery drive creation wizard.
Can a recovery drive fix a computer that will not boot?
Yes, a recovery drive is specifically designed for computers that will not boot. By changing the boot priority in the BIOS or UEFI settings, the computer will load the recovery environment directly from the USB. From there, you can use automated repair tools or manual command-line prompts to fix the underlying boot issues and restore access to your operating system.