Quick Facts
- Price: $79.99 for the standalone unit or approximately $119.99 when bundled with a C-wire power adapter.
- Technology: Engineered with Honeywell Home technology for reliable HVAC control and performance.
- Energy Savings: As an Energy Star-certified device, it can help homeowners save an average of 8% on annual heating and cooling bills.
- Compatibility: Designed to work with the majority of 24V low-voltage HVAC systems, though it is not compatible with high-voltage baseboard heaters.
- Installation: Most users can complete the DIY installation in about one hour using the guided instructions in the Alexa app.
- Voice Control: Requires a separate Alexa-enabled device (like an Echo speaker) or the Alexa app for voice commands, as there is no built-in speaker on the thermostat itself.
To install the Amazon Smart Thermostat, turn off power at the circuit breaker and verify compatibility with your 24V HVAC system. A C-wire is required for operation, though a C-wire power adapter kit can be used if your existing wiring lacks a common wire. Follow the Alexa app instructions to connect the device to 2.4GHz Wi-Fi and complete the setup process.

Upgrading your home climate control doesn’t have to be a daunting weekend project. The Amazon Smart Thermostat offers an accessible entry point into home automation, combining ease of use with significant energy savings. Whether you are looking for a smart thermostat C-wire installation guide or simply want to modernize your living space, this DIY home improvement task is surprisingly straightforward. By the end of this guide, you will understand how to transition from a manual dial to a fully connected environment that learns your habits and lowers your utility costs.
Step 1: Pre-Installation & Compatibility Check
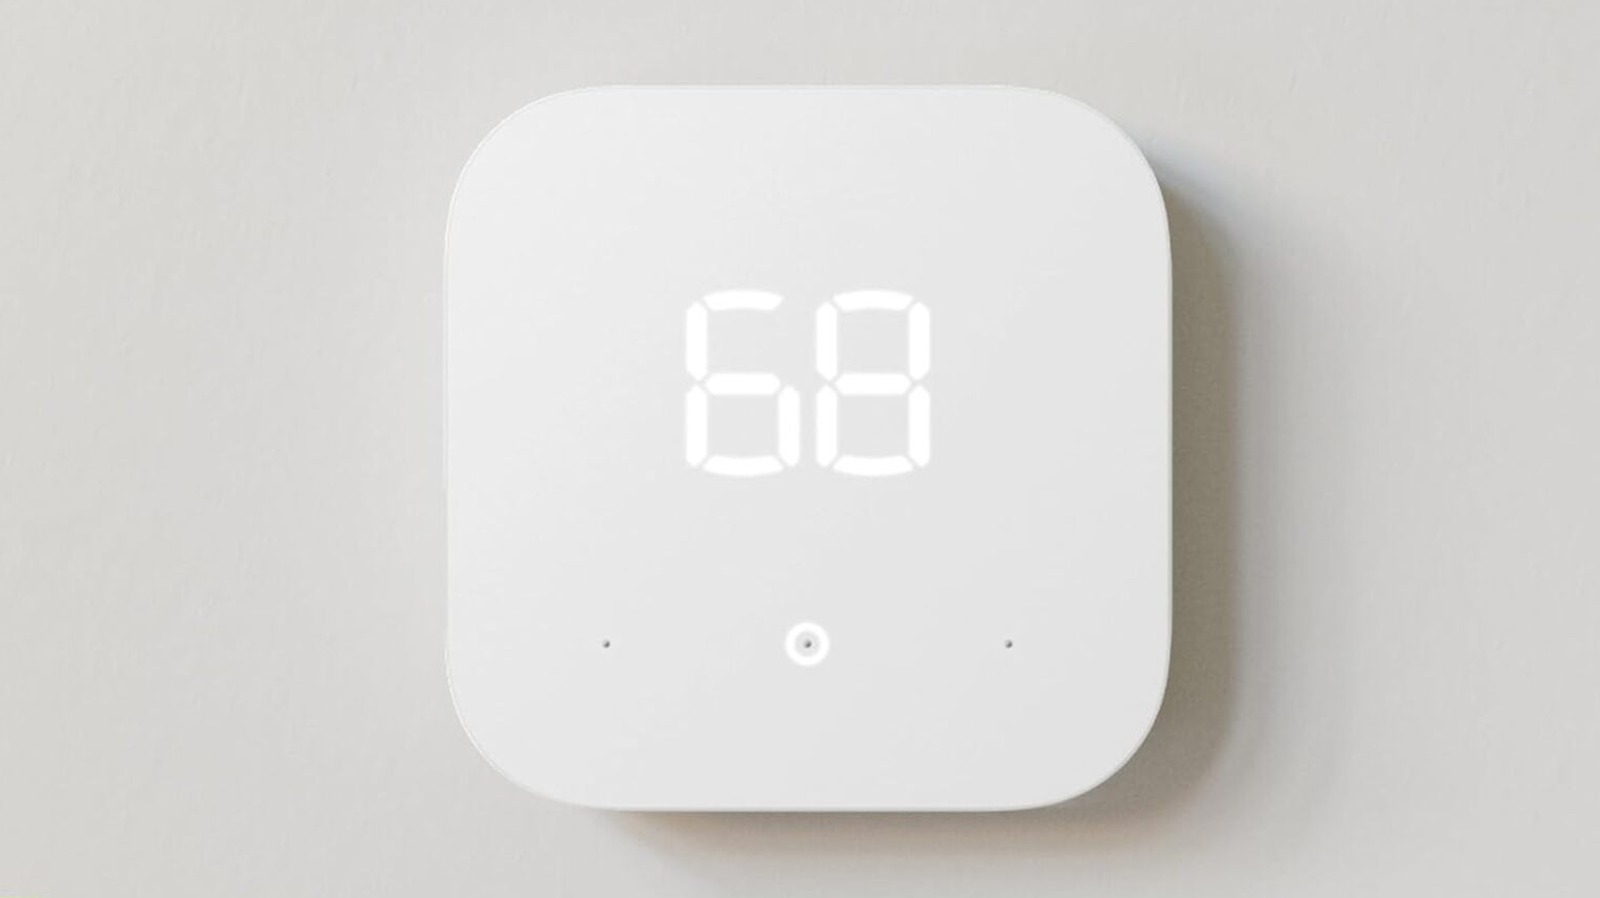
Before you unscrew your existing unit, you need to ensure the Amazon Smart Thermostat is the right fit for your home. This device measures 3.5 x 3.5 inches, offering a sleek and minimalist profile on your wall. However, the most critical check happens behind the faceplate of your current thermostat.
Safety Alert: Always verify the voltage of your system. If you see thick wires joined with wire nuts or wires labeled 120V or 240V, you have a high-voltage system. The Amazon Smart Thermostat is incompatible with high-voltage systems and connecting it to one could cause permanent damage or fire.
The Amazon Smart Thermostat compatibility with older 24V HVAC systems is broad, supporting most 18–30 VAC setups. When you pull off your old faceplate, look for a wire connected to the C terminal. This is the common wire that provides continuous power. If you don’t see a C-wire, don't worry—you can still proceed using a power adapter kit. Note that some brands, such as Trane, may label their common wire as B instead of C. If you find a B wire, it usually functions as the C-wire, but always cross-reference your specific HVAC manual to be certain.
Step 2: Physical Installation & Wiring
Once compatibility is confirmed, it is time to start the Amazon Smart Thermostat DIY installation guide for beginners. The first and most important step is to head to your circuit breaker and turn off the power to your HVAC system. This prevents any short circuits that could blow a fuse on your furnace control board.
Start by removing the old thermostat faceplate and taking a clear photo of the existing wiring for reference. Use the labeling stickers included in the box to mark each wire based on the terminal it is currently connected to (R, G, W, Y, C, etc.). After labeling, disconnect the wires and remove the old wall plate.
When mounting the new wall plate, you might want to use the optional cosmetic plate if the new unit doesn't fully cover the holes or unpainted areas left by the old one. When inserting the wires into the new terminals, ensure they are stripped to exactly 3/8 inch. This ensures a secure electrical connection without leaving exposed wire that could cause interference. Simply press down the terminal lever, insert the wire, and release.
Step 3: Installing the C-Wire Power Adapter (Optional)
If your inspection in Step 1 revealed no common wire, you will need to learn how to install Amazon Smart Thermostat without a C-wire. This involves using the C-wire power adapter, which essentially "borrows" power from other wires to keep the thermostat running.
This process requires access to your furnace or air handler control board. You will be relabeling the G wire (fan) as C and the Y wire (cooling) as K at the thermostat end. Inside the furnace, you will connect the adapter's wires to the corresponding terminals on the control board. While it sounds complex, the adapter acts as a bridge, allowing the low-voltage wiring to provide the necessary 24V power without a dedicated sixth wire. This technical workaround is a lifesaver for those living in older homes where pulling new wires through the walls isn't an option.
Step 4: Connecting to Alexa & Configuring Schedules
With the physical unit on the wall and the power back on, your thermostat should display a flashing icon indicating it is ready for setup. Open the Alexa app on your smartphone and select Add Device. The app uses Bluetooth to find the thermostat and will then prompt you to connect to your 2.4GHz Wi-Fi network.
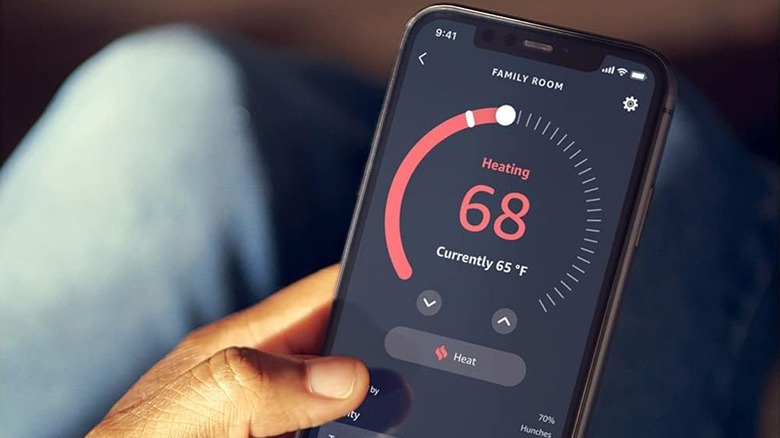
The real power of this device lies in its software. One of the primary benefits of smart thermostat scheduling is that you no longer have to remember to turn down the heat before leaving for work. You can create a 7-day schedule that matches your routine, ensuring the house is at 72 degrees when you wake up and 65 degrees when you are under the covers.
You should also explore the Alexa Energy Dashboard features. By using Alexa Energy Dashboard to track HVAC power usage, you gain visibility into how much energy your heating and cooling system consumes relative to other smart home devices. For even more automation, consider enabling Alexa Hunches for automatic temperature adjustments. If Alexa detects that everyone has left the house or that the household has gone to sleep (based on your interaction with other smart devices), it can automatically adjust the set point to save energy.
Step 5: Troubleshooting & LED Diagnostic Codes
Even the best smart home integration can occasionally run into a hiccup. If your thermostat isn't behaving as expected, the built-in LED display provides diagnostic clues.
| Color | Meaning | Action |
|---|---|---|
| Flashing Yellow | Setup Mode | Open the Alexa app to complete the pairing process. |
| Solid Red | Power/Critical Error | Check the circuit breaker or verify that the C-wire is seated correctly. |
| Solid Green | System Ready | The device is connected and functioning normally. |
| Flashing Blue | Firmware Update | Wait for the device to finish downloading and installing updates. |
An expert pro-tip for larger homes: the Amazon Smart Thermostat does not come with remote room sensors. However, you can use a 4th Gen Echo or newer as a remote temperature sensor. By creating an Alexa Routine, you can tell the thermostat to keep running until the Echo in the upstairs bedroom reaches a specific temperature, solving the problem of uneven heating in multi-story houses.
FAQ
Does the Amazon Smart Thermostat require a C-wire?
Yes, the unit requires a C-wire for continuous power. If your home lacks one, you must use the C-wire power adapter kit, which is often sold in a bundle with the thermostat.
Is there a monthly subscription fee for the Amazon Smart Thermostat?
No, there are no monthly subscription fees required to use the thermostat, the Alexa app, or the energy tracking features.
How easy is it to install the Amazon Smart Thermostat myself?
Most homeowners find the DIY process very manageable. The Alexa app provides step-by-step visual instructions, and the hardware includes everything needed for a standard installation.
Can I control the Amazon Smart Thermostat when I am away from home?
Yes, as long as your thermostat is connected to your home Wi-Fi, you can adjust the temperature, change schedules, and monitor energy usage from anywhere using the Alexa app on your phone.
Does the Amazon Smart Thermostat have a built-in Alexa speaker?
No, the thermostat does not have a microphone or speaker. To use voice commands, you must use the Alexa app or a separate device like an Echo Dot or Echo Show.
Upgrading to a smarter climate control system is one of the most effective ways to increase your home's efficiency. Beyond the convenience of voice control and remote access, the long-term benefits of Amazon Smart Thermostat for lowering energy bills make it a wise investment for any homeowner. Once you have successfully completed your installation, be sure to check with your local utility provider. Many companies offer significant rebates for installing Energy Star-certified smart thermostats, which can sometimes cover the entire cost of the device.